Hello and thanks for visiting GertieBlu! Today, we’re embarking on one of the most rewarding kitchen adventures—making homemade bread. There’s something magical about turning simple ingredients into a warm, fragrant loaf that fills your home with the comforting aroma of freshly baked bread. Whether you’re a seasoned cook or a complete beginner, this guide will walk you through the process step by step.
Why Make Homemade Bread?
Homemade bread is more than just food; it’s an experience. The process of mixing, kneading, and baking can be incredibly therapeutic. Plus, you have full control over the ingredients, ensuring that your bread is free from preservatives and additives. The result? A loaf that’s fresher, tastier, and often healthier than anything you’ll find at the store.
What You’ll Need
Before we get started, let’s gather our ingredients and tools.
Ingredients:
- 3 1/4 cups all-purpose flour
- 1 packet (2 1/4 teaspoons) active dry yeast
- 1 1/2 teaspoons salt
- 1 tablespoon sugar
- 1 cup warm water (about 110°F or 45°C)
- 2 tablespoons unsalted butter, melted (plus more for greasing the pan)
Tools:
- Large mixing bowl
- Measuring cups and spoons
- Wooden spoon or spatula
- Clean kitchen towel
- Loaf pan (8×4 inch)
- Cooling rack

Step-by-Step Instructions
Now that we’re ready, let’s get baking!
1. Activate the Yeast
In a small bowl, combine the warm water and sugar, then sprinkle the yeast over the top. Let it sit for about 5–10 minutes until the mixture becomes frothy. This step is crucial, as it shows that your yeast is alive and ready to work its magic.
2. Mix the Dough
In your large mixing bowl, combine the flour and salt. Make a well in the center and pour in the yeast mixture and melted butter. Stir with a wooden spoon or spatula until a shaggy dough forms. The dough might look a bit messy, but don’t worry—that’s exactly how it should be!
3. Knead the Dough
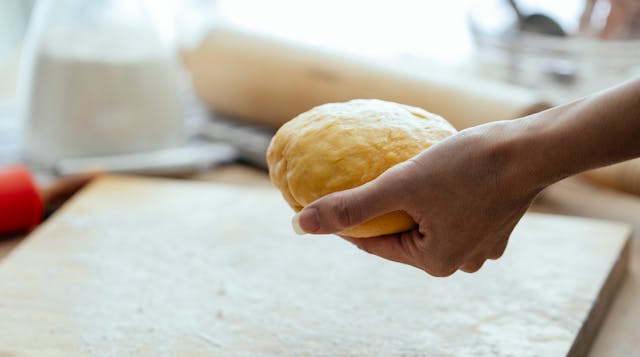
Turn the dough out onto a lightly floured surface. Knead it for about 8–10 minutes until it becomes smooth and elastic. If the dough is too sticky, add a little more flour, a tablespoon at a time. Kneading helps develop the gluten, which gives the bread its structure and chewiness.
4. First Rise
Place the dough in a greased bowl, turning it to coat all sides with butter. Cover the bowl with a clean kitchen towel and let it rise in a warm, draft-free area for 1–2 hours, or until it has doubled in size.
5. Shape the Loaf
Once the dough has risen, punch it down to release the trapped air. Turn it out onto a lightly floured surface and shape it into a loaf. Place the dough in a greased loaf pan, seam side down. Cover it again with the kitchen towel and let it rise for another 30–45 minutes, or until it has risen just above the edge of the pan.
6. Bake the Bread
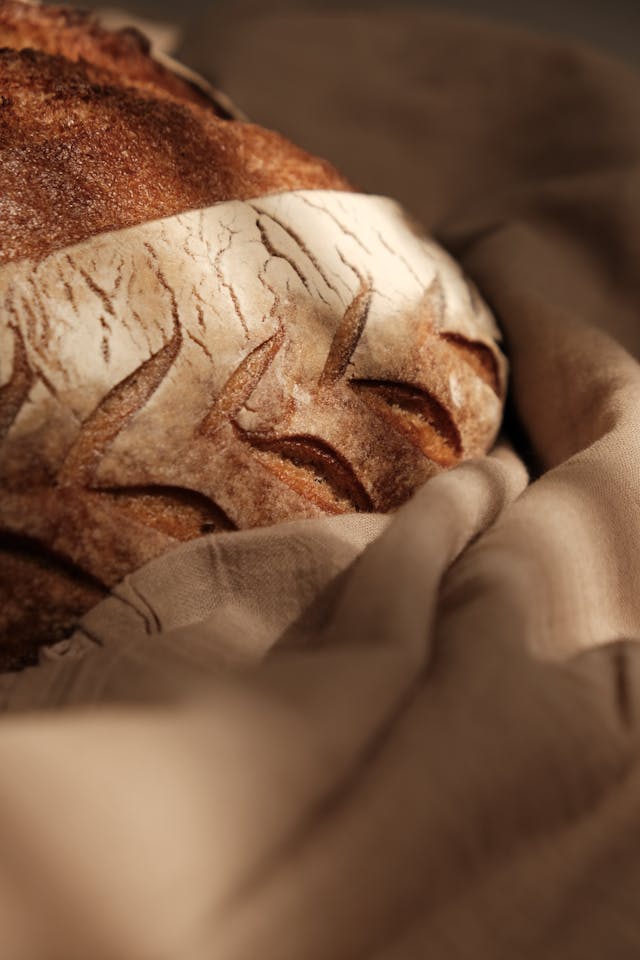
Preheat your oven to 375°F (190°C). Bake the bread for 25–30 minutes, or until the top is golden brown and the loaf sounds hollow when tapped. For a softer crust, you can brush the top with melted butter as soon as it comes out of the oven.
7. Cool and Enjoy
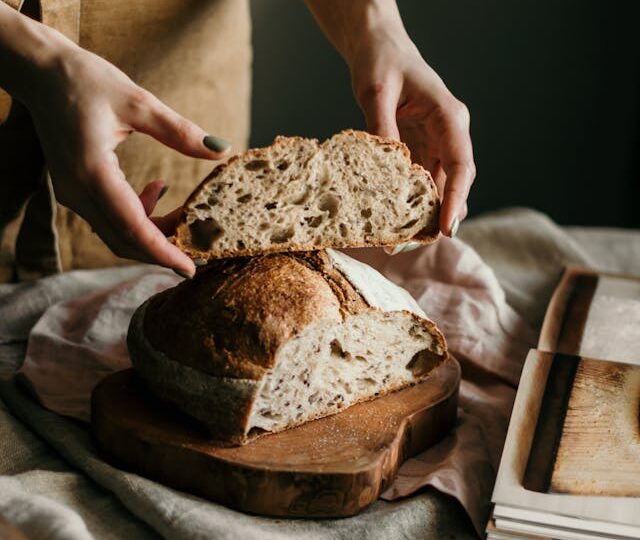
Once baked, remove the bread from the pan and place it on a cooling rack. Let it cool for at least 15 minutes before slicing—if you can wait that long! Serve with butter, jam, or your favorite topping.

Tips for Success
- Measure Carefully: Too much flour can make your bread dense. Be sure to spoon the flour into your measuring cup and level it off, rather than scooping directly from the bag.
- Use Fresh Yeast: Check the expiration date on your yeast packet. Old yeast can prevent your bread from rising properly.
- Be Patient: Good bread takes time, especially when it comes to rising. Let the dough rise until it’s doubled in size for the best texture.
Variations to Try
Once you’ve mastered the basic loaf, feel free to experiment! Add herbs, cheese, or even dried fruits to the dough for different flavors. You can also try making whole wheat bread by substituting some of the all-purpose flour with whole wheat flour.
Final Thoughts
Making homemade bread is a rewarding process that fills your home with warmth and delicious aromas. With just a few simple ingredients and a little patience, you can create a loaf that’s far superior to anything you’ll find at the grocery store. Plus, the sense of accomplishment you’ll feel when you slice into that perfect, golden-brown loaf is unmatched.
I hope this guide inspires you to give bread-making a try. There’s nothing quite like the satisfaction of baking your own loaf and enjoying the fruits of your labor. Remember, practice makes perfect, so don’t be afraid to experiment and make it your own.
Happy baking, and thanks for stopping by GertieBlu!


