Hello, fellow puzzle enthusiasts! Welcome back to GertieBlu, your go-to place for all things fun and challenging. Today, we’re tackling a classic puzzle that has captivated millions around the globe—the Rubik’s Cube. Whether you’re a seasoned solver or a complete beginner, this guide will walk you through the basics of solving the Rubik’s Cube, turning that jumble of colors into a perfectly organized masterpiece.
The History of the Rubik’s Cube
Before we jump into solving, let’s take a moment to appreciate the history of this iconic puzzle. The Rubik’s Cube was invented in 1974 by Ernő Rubik, a Hungarian architect and professor. Originally designed as a teaching tool to help explain three-dimensional geometry, the cube quickly became a global sensation. Since then, it has been a source of fascination for people of all ages, from casual solvers to competitive speedcubers.
Understanding the Rubik’s Cube
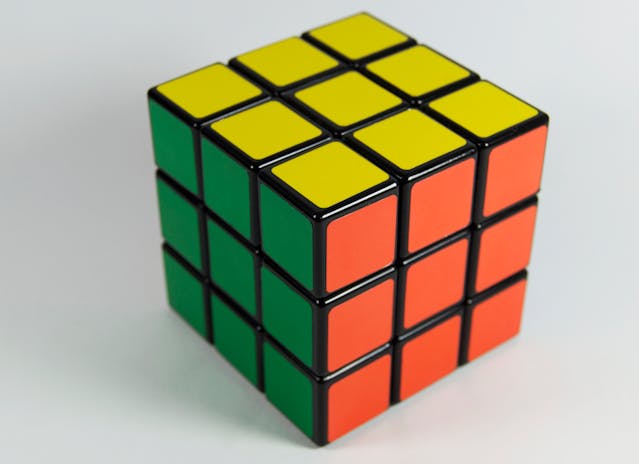
At first glance, the Rubik’s Cube can seem like an overwhelming mess of colors. But don’t worry! The cube is made up of three layers: the top, middle, and bottom. Each layer consists of nine smaller squares in six colors—white, yellow, green, blue, red, and orange. The goal is to get each side of the cube to display a single, uniform color.
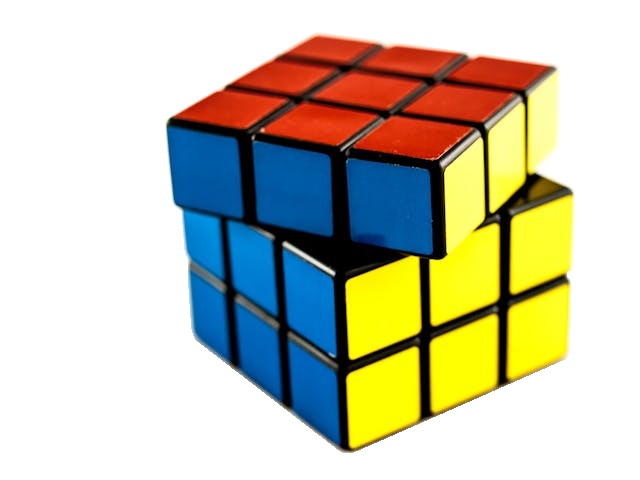
The cube’s mechanics are straightforward: each face can rotate independently, allowing you to move the smaller squares around. However, solving the cube requires more than just random twisting; it’s about understanding how these pieces move and relate to one another.

The Basics of Solving the Rubik’s Cube
Solving the Rubik’s Cube involves a series of steps, each focusing on getting one part of the cube solved while keeping the rest in order. Here’s a simple step-by-step guide for beginners:
Step 1: The White Cross
- Start by solving the white cross on the top layer. Align the edge pieces so that the white squares form a cross. Make sure the colors on the edges also match the colors of the center squares on the adjacent sides.
Step 2: Solving the White Corners
- Once the white cross is complete, focus on the corners of the top layer. Your goal is to place the white corner pieces in their correct positions, with the white squares on the top and the other two colors matching the adjacent sides.
Step 3: The Middle Layer Edges
- After the top layer is solved, it’s time to tackle the middle layer. Rotate the cube so the white face is on the bottom. Now, solve the edges of the middle layer, ensuring that each piece is in the correct position with matching colors on both sides.
Step 4: The Yellow Cross
- With the middle layer done, turn your attention to the top layer again. This time, you’ll work on forming a yellow cross. Don’t worry about the corners just yet—focus on getting the yellow edges in place.
Step 5: Solving the Yellow Corners
- Now that the yellow cross is complete, it’s time to solve the corners of the top layer. Your goal is to position the yellow corners correctly, even if the yellow squares aren’t yet oriented the right way.
Step 6: Orienting the Yellow Corners
- The final step is to twist the yellow corners so that the top face is entirely yellow. This might require a series of specific moves, known as algorithms, to orient the corners without disturbing the rest of the cube.
Step 7: The Last Layer Edges
- Finally, you’ll need to position the remaining edge pieces. This step might seem tricky, but with practice, you’ll get the hang of the required algorithms.
Tips for Success
- Practice the Basics: Don’t rush. Start by mastering the white cross and corners. As you become more comfortable, the subsequent steps will become easier.
- Learn the Algorithms: Algorithms are a sequence of moves that manipulate specific parts of the cube. There are a handful of basic algorithms that are essential for solving the cube.
- Stay Patient: Solving the Rubik’s Cube is a mental workout. It’s easy to get frustrated, but remember that practice makes perfect. Keep experimenting, and you’ll improve over time.

Final Thoughts
Solving the Rubik’s Cube is more than just a fun pastime—it’s a way to exercise your brain, improve problem-solving skills, and boost your patience. Whether you’re aiming to solve it for the first time or trying to beat your personal best, the journey of learning and solving the cube is rewarding in itself.
Thank you for joining me on this colorful adventure! I hope this guide helps you on your journey to mastering the Rubik’s Cube. Stay tuned for more fun and challenging content here on GertieBlu. Until next time, happy puzzling!


